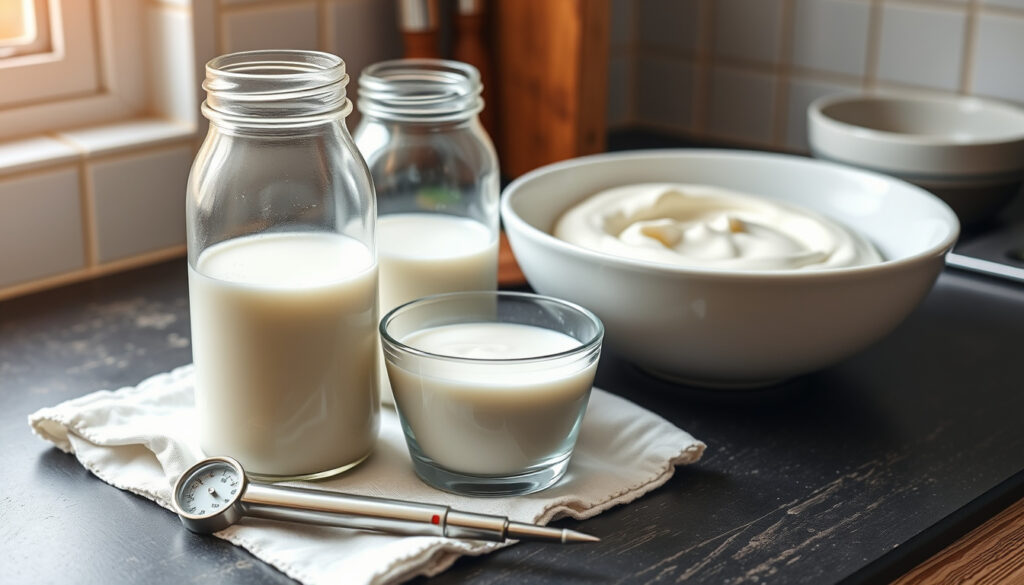
How to Make Yogurt at Home: Easy Step-by-Step Guide with Tips
There’s something quietly satisfying about pulling a jar of thick, homemade yogurt out of your fridge—knowing exactly what went into it. Whether you’re chasing better flavor, cutting out additives, or just curious about fermentation, mastering the process at home is surprisingly straightforward once you nail a few temperature and technique details.
Average fermentation temperature: 110–115°F ·
Typical fermentation time: 4–8 hours ·
Starter amount per quart: 2 tablespoons ·
Refrigerator shelf life: Up to 2 weeks
Quick snapshot
- Yogurt is produced by bacterial fermentation of milk (U.S. Food and Drug Administration (federal regulatory agency))
- Homemade yogurt requires a starter culture with live active cultures (The Messy Epicure (home cooking blog))
- Whether ultra-pasteurized milk consistently produces good yogurt (Champagne Tastes (food blog))
- The exact optimal fermentation time varies from 4 to 12 hours depending on temperature and desired tang (Home Cooking Collective (cooking site))
- FDA amended the standard of identity for yogurt on June 11, 2021, with further modifications on December 15, 2022 and April 14, 2023 (U.S. Food and Drug Administration (regulatory update))
- Strain your homemade yogurt through cheesecloth for Greek-style thickness (Melissa K. Norris (homesteading recipe site))
- Use leftover whey in smoothies, baking, or soup broth (Melissa K. Norris (homesteading recipe site))
The key facts below provide a quick reference for the essential parameters of homemade yogurt.
| Label | Value |
|---|---|
| Main ingredient | Milk (eCFR (official U.S. regulatory code)) |
| Starter culture | Live yogurt (The Messy Epicure (home cooking blog)) |
| Fermentation temperature | 110–115°F (Ms Shi and Mr He (recipe site)) |
| Time required | 4–8 hours (Melissa K. Norris (homesteading recipe site)) |
| Storage | Refrigerate up to 2 weeks (U.S. Food and Drug Administration (food safety guidance)) |
How to make yogurt at home step by step?
Making yogurt at home follows a reliable rhythm: heat the milk, cool it, add a starter, hold it warm until it sets. Here’s the breakdown from start to finish.
Can you turn milk into yogurt?
Yes, and the process depends on heat treatment and the right bacteria. Start by heating milk to around 180°F (82°C) to denature the whey proteins, which helps create a thicker final set. This is a key step recommended by NW Ferments (fermentation education site). After holding it at that temperature for 15–30 minutes, cool the milk to about 110°F (43°C) before stirring in a starter—usually 2 tablespoons of plain yogurt with live active cultures per quart.
Pour the mixture into clean containers, cover them, and keep the temperature steady between 110°F and 115°F for 4 to 8 hours. Champagne Tastes (food blog) notes that a yogurt maker, Instant Pot with yogurt setting, or even an oven with the light on can maintain that range. The longer you ferment, the tangier the result.
The implication: mastering these temperature and timing details is the key to consistent results.
What kind of milk is best for yogurt?
Whole milk delivers the creamiest, richest yogurt, according to Champagne Tastes (food blog). Low-fat options work but may produce a thinner texture that requires straining or a thickener like powdered milk. A major warning: ultra-pasteurized milk often fails because the high-heat treatment alters the proteins so they don’t form a stable gel. Stick with pasteurized or unpasteurized cow’s milk for consistent results.
The trade-off: whole milk yields more body, while low-fat milk lets you reduce calories but demands more attention. Home Cooking Collective (cooking site) recommends cooling the milk to about 108°F before adding the starter for a delicate balance of firmness and creaminess.
Whole milk gives foolproof richness, but if you want lower fat, you’ll need to compensate with a longer strain or a pinch of powdered milk. Ultra-pasteurized buyers: you’re rolling the dice.
The pattern: whole pasteurized milk remains the most reliable choice for beginners.
What are the three main ingredients in yogurt?
At its simplest, yogurt needs just milk, a starter culture (live bacteria), and time. The eCFR (official U.S. regulatory code) defines yogurt’s composition, including minimum milkfat levels. Commercial varieties sometimes add stabilizers like pectin or gelatin, but homemade versions skip those entirely. The starter must contain live active cultures—Lactobacillus bulgaricus and Streptococcus thermophilus are the classic pair. The Messy Epicure (home cooking blog) warns that post-fermentation pasteurization in some store-bought yogurts kills the cultures, making them useless as a starter.
So three ingredients: milk, live bacteria, and patience. That’s it.
How to make Greek yogurt from milk?
Greek yogurt is simply regular yogurt that has been strained to remove whey. After fermentation, line a colander with cheesecloth or a clean kitchen towel, pour in the yogurt, and let it drain in the refrigerator for 2 to 4 hours. Melissa K. Norris (homesteading recipe site) explains that longer straining yields a thicker, almost cream cheese–like consistency. The reserved whey can be used in smoothies, bread dough, or soup broth.
How to make yogurt without starter?
If you don’t have a starter, you can use store-bought plain yogurt that lists live active cultures on the label. The Messy Epicure (home cooking blog) notes that you need at least 2 tablespoons of such yogurt per quart of milk. Another option: freeze a small amount from a previous batch—it keeps for months. Avoid flavored or sweetened yogurts, as added sugar can interfere with fermentation.
Once you’ve made your first batch, you save a few tablespoons as a starter for the next round. That makes the process self-sustaining and nearly cost-free after the initial milk purchase.
The catch: once you start, you’ll have a continuous supply of starter.
Is homemade yogurt more healthy?
Homemade yogurt often contains more live probiotics than many commercial brands, because it isn’t heat-treated after fermentation. You also control the sugar—none added unless you want it. The U.S. Food and Drug Administration (federal regulatory agency) requires commercial yogurt to have a pH of 4.6 or lower, which ensures safety, but does not mandate minimum probiotic counts. Homemade versions, fermented longer, can reach higher bacterial densities.
Is homemade yogurt nutritionally efficient?
Nutrient-wise, homemade yogurt is comparable to plain store-bought yogurt in protein and calcium, but you avoid thickeners, preservatives, and added sugars. A quart of milk costs roughly the same as a small container of premium yogurt, and yields about four servings of Greek-style yogurt after straining. The efficiency is real: more yogurt for less money, with fewer ingredients.
Four milk types reveal a clear pattern: fat content and processing method directly affect texture and success rate.
| Milk type | Resulting texture | Starter effectiveness | Notes |
|---|---|---|---|
| Whole (pasteurized) | Thick, creamy | Excellent | Best for first-timers (Champagne Tastes (food blog)) |
| Low-fat (2% or 1%) | Lighter, may be thin | Good | May need strain or powdered milk (Home Cooking Collective (cooking site)) |
| Skim | Very thin | Fair | Often produces runny result without additives (Champagne Tastes (food blog)) |
| Ultra-pasteurized | Unpredictable | Poor | Not recommended for beginners (Champagne Tastes (food blog)) |
The pattern: whole pasteurized milk gives the most reliable, creamiest results. Ultra-pasteurized is the most common failure point for new makers.
Upsides
- Higher probiotic counts than most store-bought options (NIH (research database))
- No added sugars, preservatives, or thickeners
- Cost-effective: up to 4x cheaper per serving
- Customizable flavor and fat content
Downsides
- Requires temperature control equipment or careful monitoring
- Ultra-pasteurized milk can ruin the batch
- 7–12 hour total time from start to chilled yogurt
- Straining for Greek style adds another 2–4 hours
Step-by-Step Instructions
- Heat 1 quart of milk to 180°F (82°C) in a heavy pot, stirring occasionally. Hold for 15–30 minutes. This denatures proteins for a thicker set. (NW Ferments (fermentation education site))
- Cool to 110–115°F by placing the pot in an ice bath or letting it sit at room temperature. Stir to avoid hot spots. (Ms Shi and Mr He (recipe site))
- Add 2 tablespoons of starter (plain yogurt with live cultures) and whisk gently.
- Pour into clean glass jars or a single container. Keep at 110–115°F for 4–8 hours. Use a yogurt maker, Instant Pot, or oven with a pilot light. (Home Cooking Collective (cooking site))
- Refrigerate for at least 4 hours to set completely.
For Greek-style, after step 5 strain the yogurt through cheesecloth for 2–4 hours in the fridge. (Melissa K. Norris (homesteading recipe site))
One quart of milk costs about $3 and yields nearly 3 cups of Greek yogurt—compared to $5–7 for the same amount at the store. The savings compound fast if you reuse starter.
Related reading: Homemade Greek Yogurt Recipe – Thick, Creamy, and Easy to Make · How to Make Greek Yogurt – Step by Step Guide
For those who prefer a hands-on walkthrough, try starting with this detailed recipe from a New Zealand home cook.
Frequently asked questions
Can I use non-dairy milk to make yogurt?
Yes, but results vary. Coconut milk, soy milk, and oat milk can be used, but they often require a different starter or thickener like agar agar. Whole cow’s milk is the most reliable for beginners. (Academy of Nutrition and Dietetics (professional dietary association))
How long does homemade yogurt keep?
Properly refrigerated in a sealed container, homemade yogurt stays good for up to 2 weeks. Discard if you see mold or off-odors. (U.S. Food and Drug Administration (food safety guidance))
Why is my homemade yogurt runny?
Common causes: milk wasn’t heated enough (below 180°F), fermentation temperature drifted below 110°F, or you used ultra-pasteurized milk. Next time, heat to 185°F and hold for 30 minutes. (Champagne Tastes (food blog))
Do I need a special yogurt maker?
No. An Instant Pot with a yogurt function works well, but you can also insulate the jar in a warm oven (light on) or a cooler with hot water bottles. The key is steady 110–115°F for 4–8 hours. (Home Cooking Collective (cooking site))
Can I use store-bought yogurt as a starter?
Yes, as long as the label says “live active cultures.” Avoid flavored or heat-treated yogurts. (The Messy Epicure (home cooking blog))
How do I know when the yogurt is done?
When it has set to a custard-like firmness—it should jiggle slightly but not be liquid. Fermentation times range from 4 hours (mild) to 12 hours (very tangy). Taste-test after 4 hours. (Melissa K. Norris (homesteading recipe site))
“Heat milk to 175°F to 185°F and hold it there for 15 to 30 minutes before cooling and inoculating.”
— Melissa K. Norris (homesteading recipe site)
“Clean and sanitize all equipment to prevent off-flavors.”
— University of Alaska Extension (university extension program)
For home cooks who want a dependable, additive-free yogurt at a fraction of the store price, the choice is clear: invest an hour of active time and a steady 110–115°F environment, and you’ll get a creamy, probiotic-rich staple that beats most supermarket options. The real question isn’t whether you can make it—it’s whether you’ll ever go back to buying it.
More related posts
 Best Movies to Watch: Top 10, Ratings & Rewatchable Picks
 What to Wear to an Interview: Ireland Guide for Men & Women
 Who Won the Ryder Cup 2025? Final Score & Results
 Astrid & Miyu Dublin: New Store Opening, Services & Reviews
 Liffey Valley Opening Hours | Today’s Times & Store Schedule
 Manchester to Dublin Flights: Time, Airlines & Best Prices
 Greek Letter Crossword Clue: Full Alphabet and Solving Tips
 Grand Central Station Belfast: Location, Access, Facilities